Are you contemplating a factory reset on your Mac computer? While this can instantly breathe new life into your sluggish machine and solve software issues, it also wipes clean all your settings, data, and applications. Hence, before you kickstart the factory reset MacBook process and click the Erase All Content and Settings button, it is critical to create a comprehensive backup plan. This ensures you do not lose your irreplaceable documents, photos, music, and other digital treasures.
Let’s take you through a step-by-step process of backing up your Mac before a factory reset.
Step 1: Choose The Right Backup Option For Your Data
Different backup options are available for your MacBook. Carefully assess them to make an informed decision.
- Time Machine – This is an in-built backup option that creates incremental backups automatically. You can use this option to backup your entire Mac. Time Machine uses external storage devices like a NAS drive or USB hard drive to store the backups.
- iCloud backup – This is a cloud storage option where you can back up specific types of data, such as contacts, photos, documents, and calendars. You can choose to sync the backup so it is available across your Apple devices.
- External hard drive – Backing up on an external hard drive is a cost-effective and simple option. This creates a physical copy of your backup and ensures you have complete control over your data. But this backup method is viewed as an inconvenience because you have to manually backup your system.
- NAS – A NAS drive offers a centralized and robust backup solution but this option can be more expensive than external hard drive. However, they offer features like remote access and automatic backups.
| Backup method | Pros | Cons |
| Time Machine | Easy to set upAutomatic backups Back ups the entire system | Not recommended for large data sets Requires external storage drive |
| iCloud | Automatic backups Accessible from anywhere Easy to set up | Limited storage Expanding storage can be expensive Security is a concern |
| External hard drive | Complete control over your data Physical copy of your data Cost-effective | Susceptible to physical damage Requires manual backups |
| NAS | Automatic backups Centralized location for your backups | Expensive upfront Requires technical knowledge |
Step 2: Guide To Backing Up Your Mac (Using Time Machine)
To backup your Mac using Time Machine, you need to get an external storage device (a NAS drive or external hard drive). Then, connect this device to your Mac via Thunderbolt cable or USB.
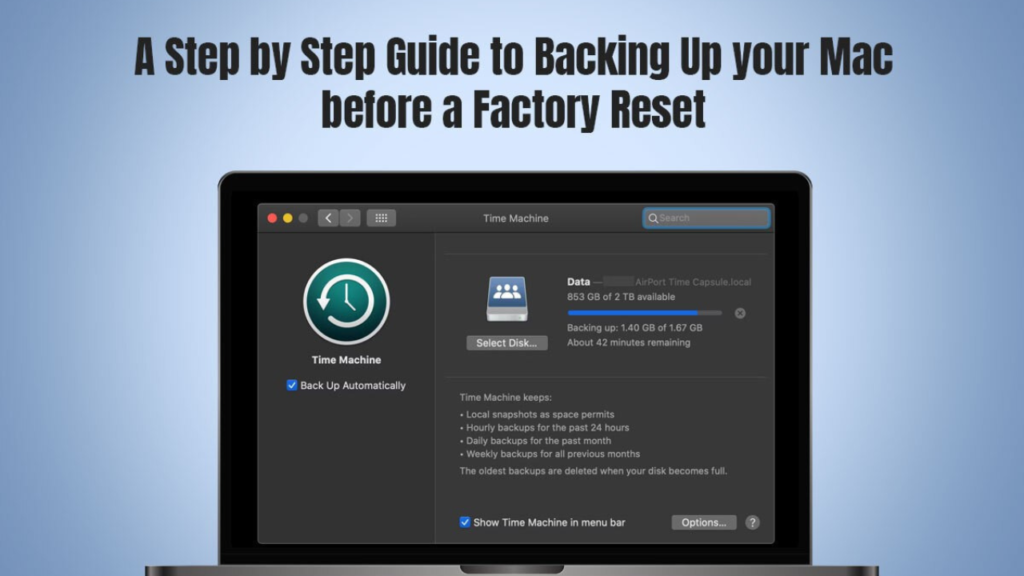
Set up Time Machine by going to System Settings > Time Machine > choose the external drive you connected earlier as your backup disk. Activate Time Machine backups and customize backup options. Then, let Time Machine work its magic.
Once Time Machine is set up, regular backups will be created automatically.
Step 3: Verify Your Backup
For your peace of mind, it is recommended that you verify your Time Machine backup and then proceed with the factory reset. Here’s how you can verify:
- Open Time Machine preferences > click on the timeline bar representing your backups > click on the time and data on the timeline bar. This should launch a Finder window and show you the state of Mac’s files at that specific point in the backup history.
- Browse through the backed up files and folders to ensure they are all functional and accessible.
Step 4: Perform A Factory Reset
Once you have backed up and successfully confirmed that the files and folders are accessible, it is time to proceed with the factory reset.
- Back up your data one last time. You can do this manually to ensure all the important files and folders are backed up before the reset.
- Restart your MacBook.
- Press the Command + R keys when your system restarts.
- Continue holding the keys until you see the Apple logo, and then release them. You will boot into macOS Recovery mode.
- Select Disk Utility if you wish to erase any existing partitions or reformat the internal drive before resetting your Mac. The default erase option also works fine if you don’t wish to go through so much trouble.
Alternatively, you can go to System Settings or System Preferences > click on the main menu and choose Erase All Content and Settings > enter your password and proceed with erasing data. Confirm that you want to erase all settings, media, and files. Sign out of your Apple ID and click Erase All Content & Settings.
Once everything is deleted, it is time to choose Reinstall macOS from the macOS Recovery menu. Follow the on-screen instructions to complete the process.
Step 5: Restore Your Data
Once you’ve reinstalled macOs, retrieve your precious data from your backup.
The Bottom Line
Congratulations! Your Mac computer has been reset to factory settings, and your precious data has been safely stored as well. You can easily retrieve the backed up data or enjoy a fresh start with your MacBook.

